Autodesk Maya
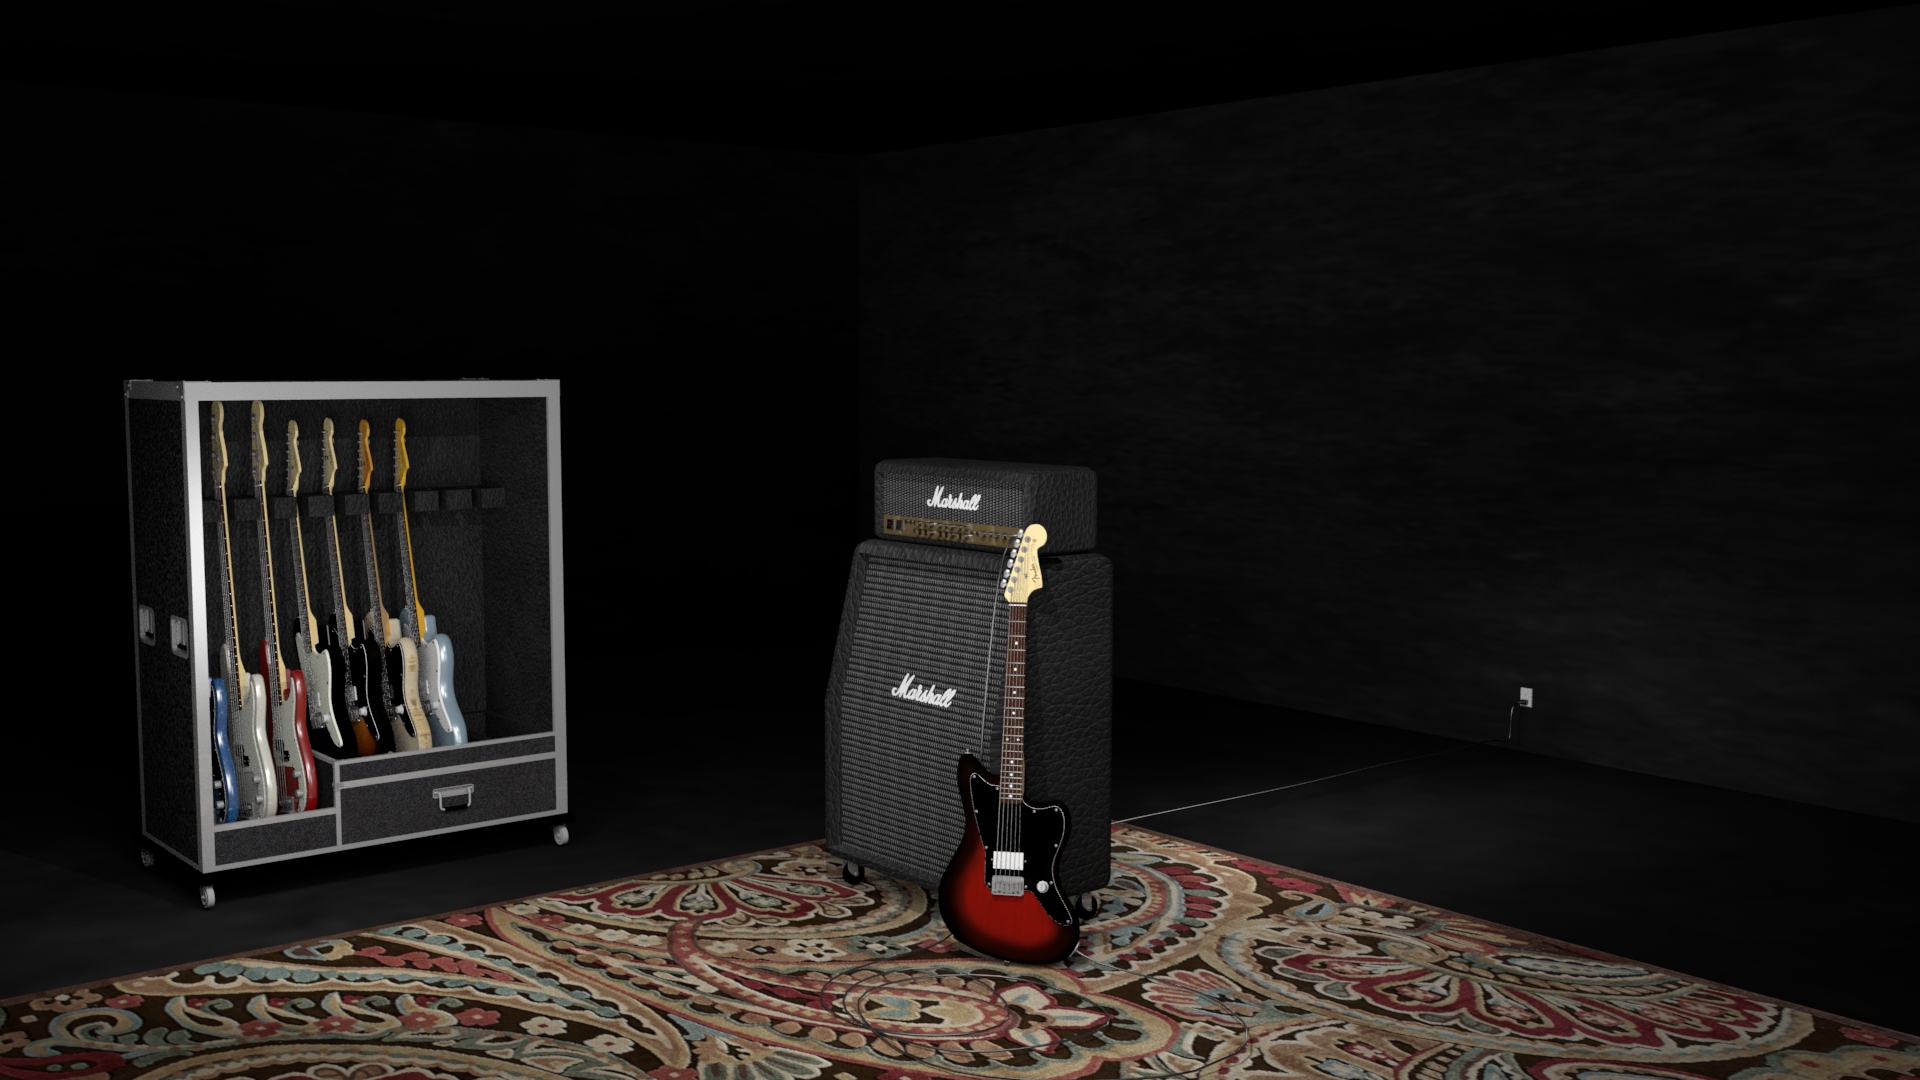
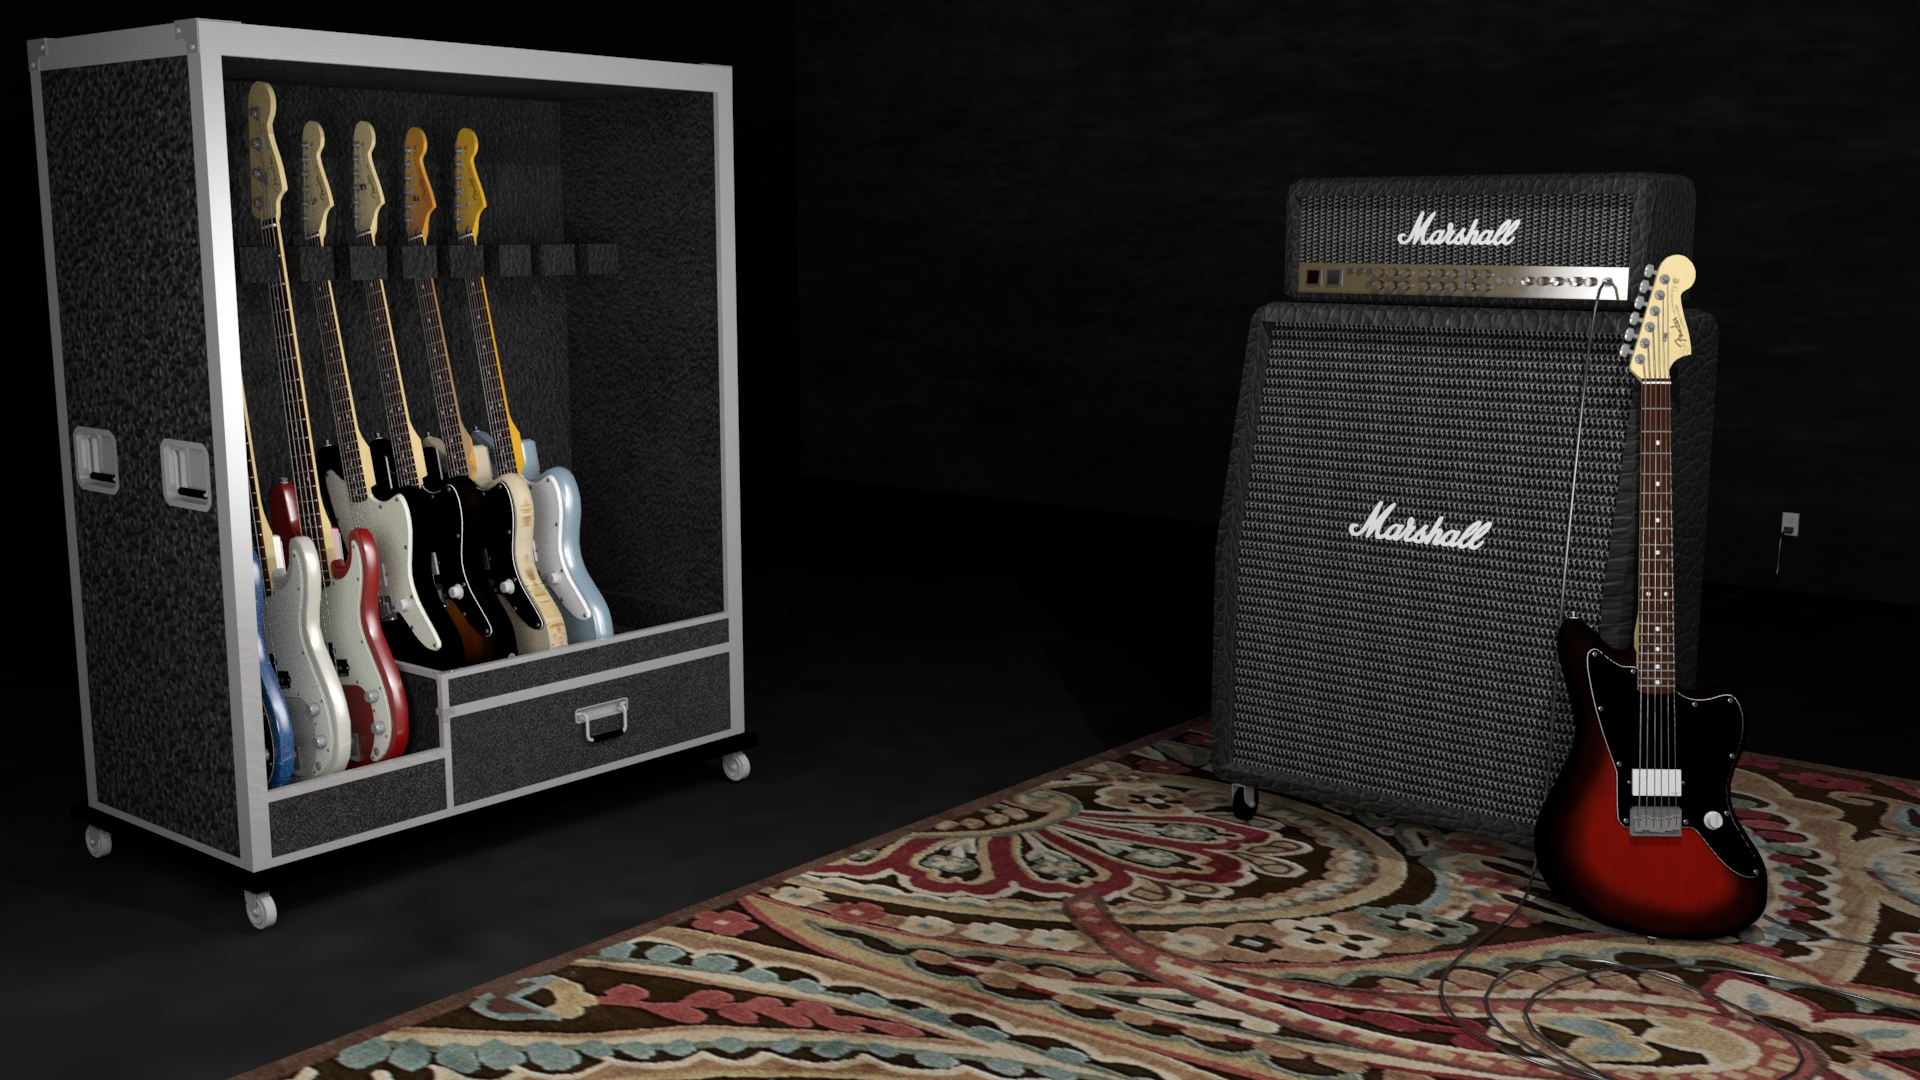
These are 3D renderings that were created using Autodesk Maya, when I took a college course during the Spring 2020 semester at American River College, although the class was taught remotely from Sacramento City College. I started off learning how to model 3d objects from basic polygons, all by extruding faces, adding edge loops, and more. Plus I could view my models from different viewports in the program while I would work on them, thanks to this special interface that had a quad setup for different perspectives (perspective, front, side, and top view).
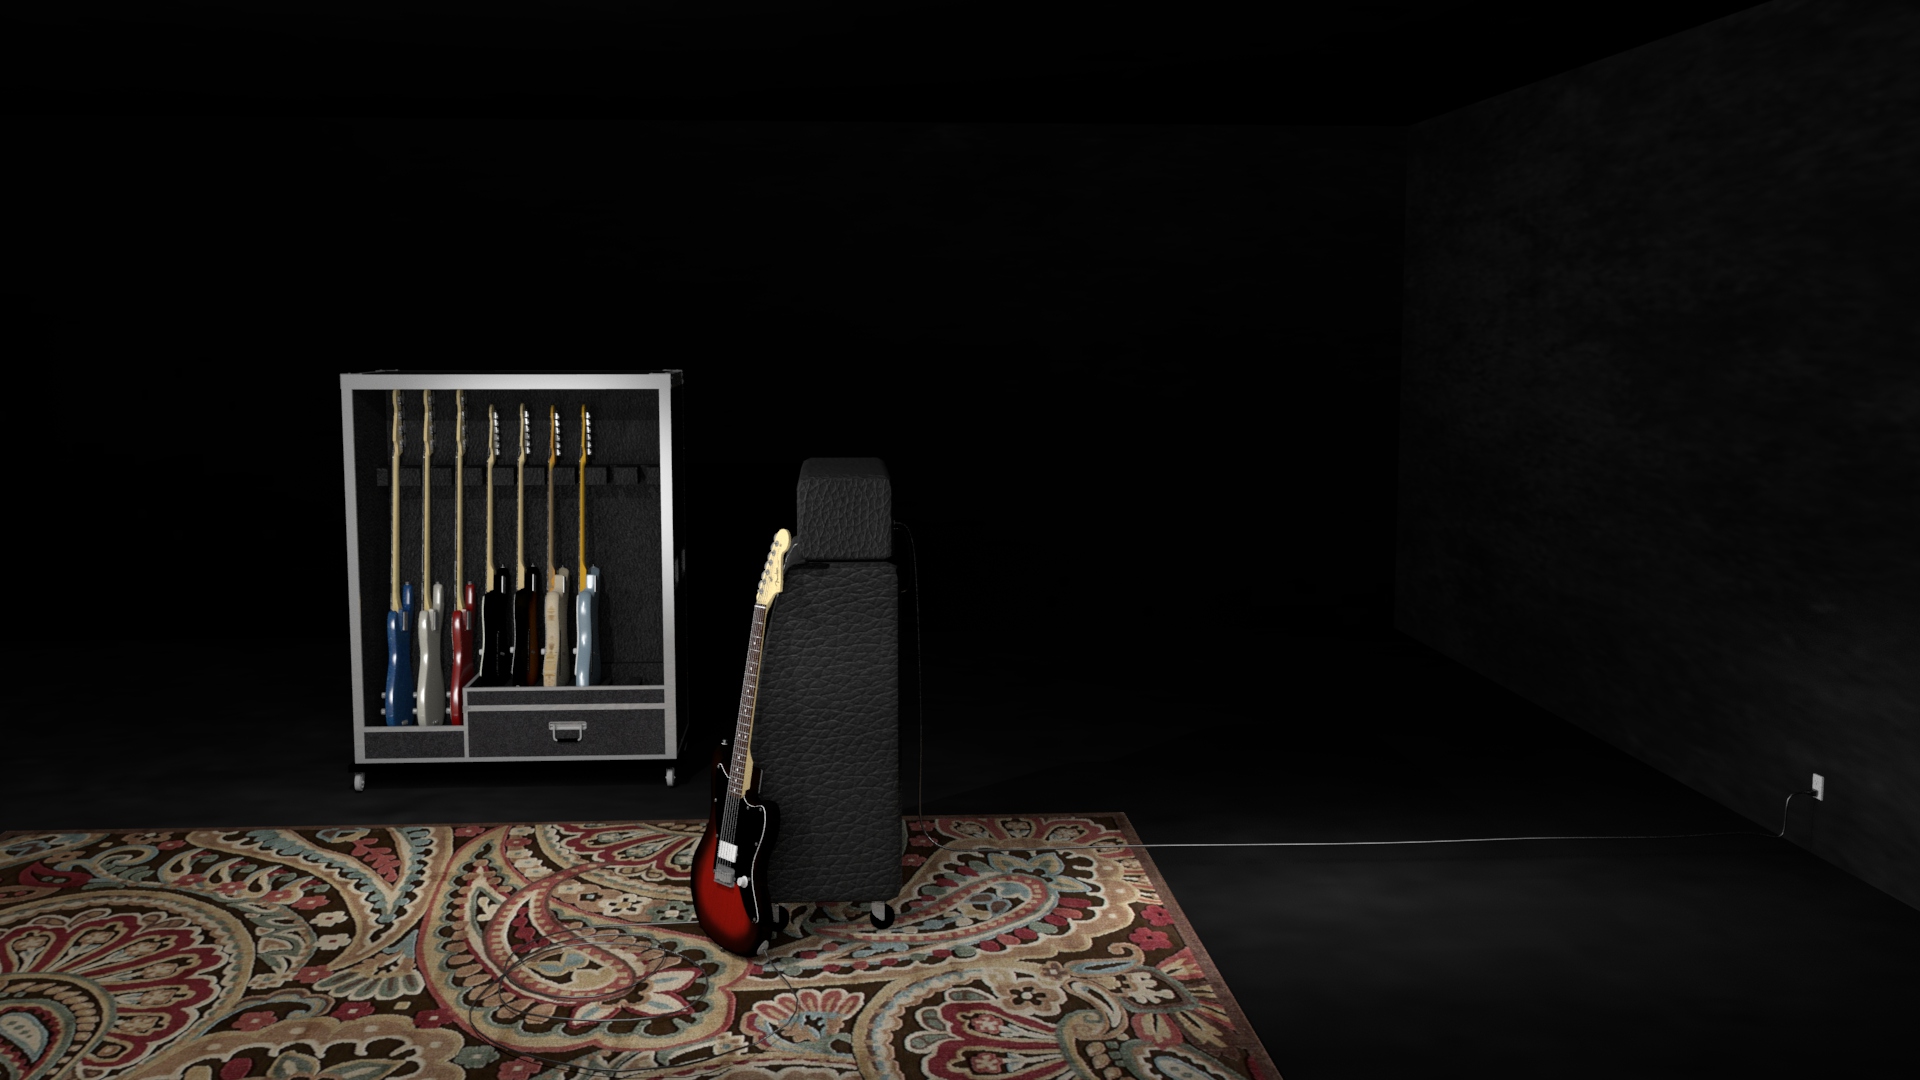
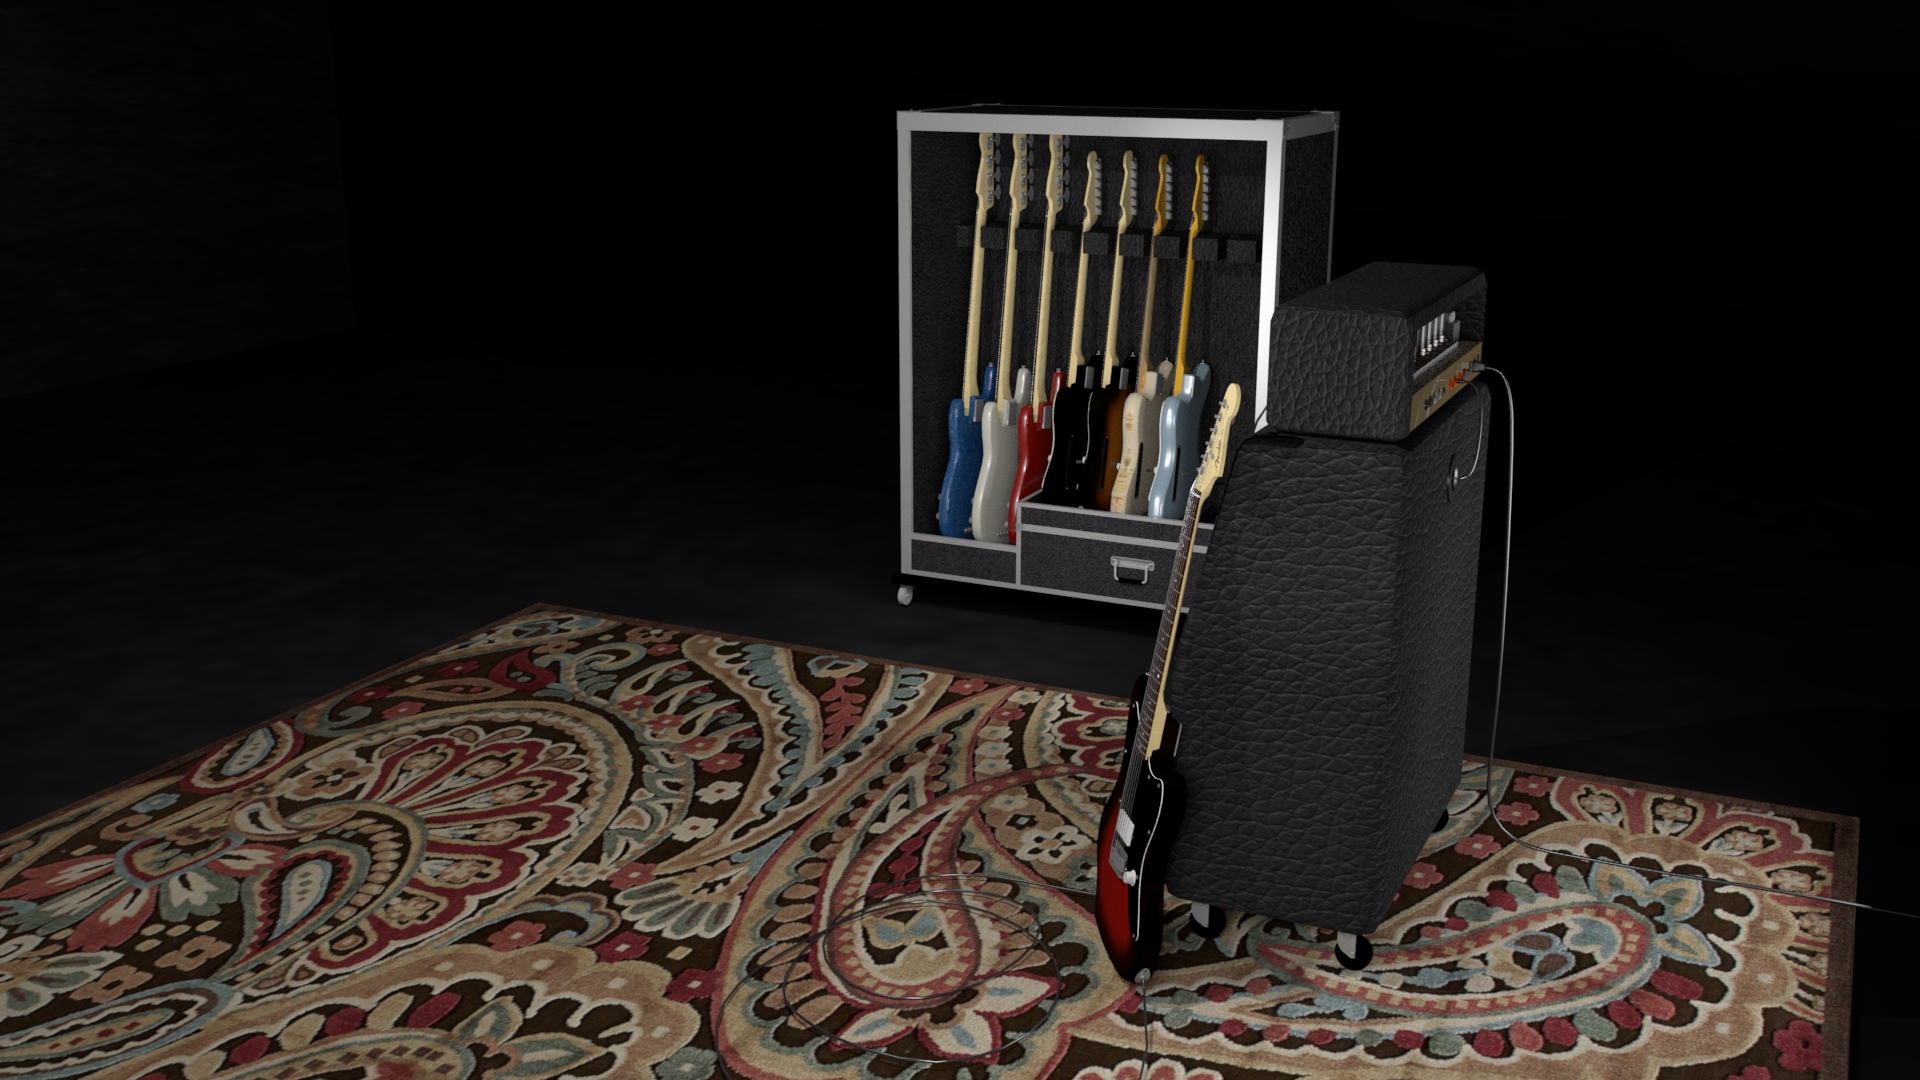
As the course progressed, I was eventually introduced to the concept of texturing objects with UV maps. I could texture map objects with cylindrical mapping, planar mapping, cubic mapping, or automatic mapping. Yet, with automatic mapping, there were some instances where I would have to cut and sew edges of UV shells that were created as a result from the automatic map. I would even create some of my own textures in Photoshop that I would modify from actual images, especially ones like the wooden textures for the bodies of the guitars seen in this slideshow.
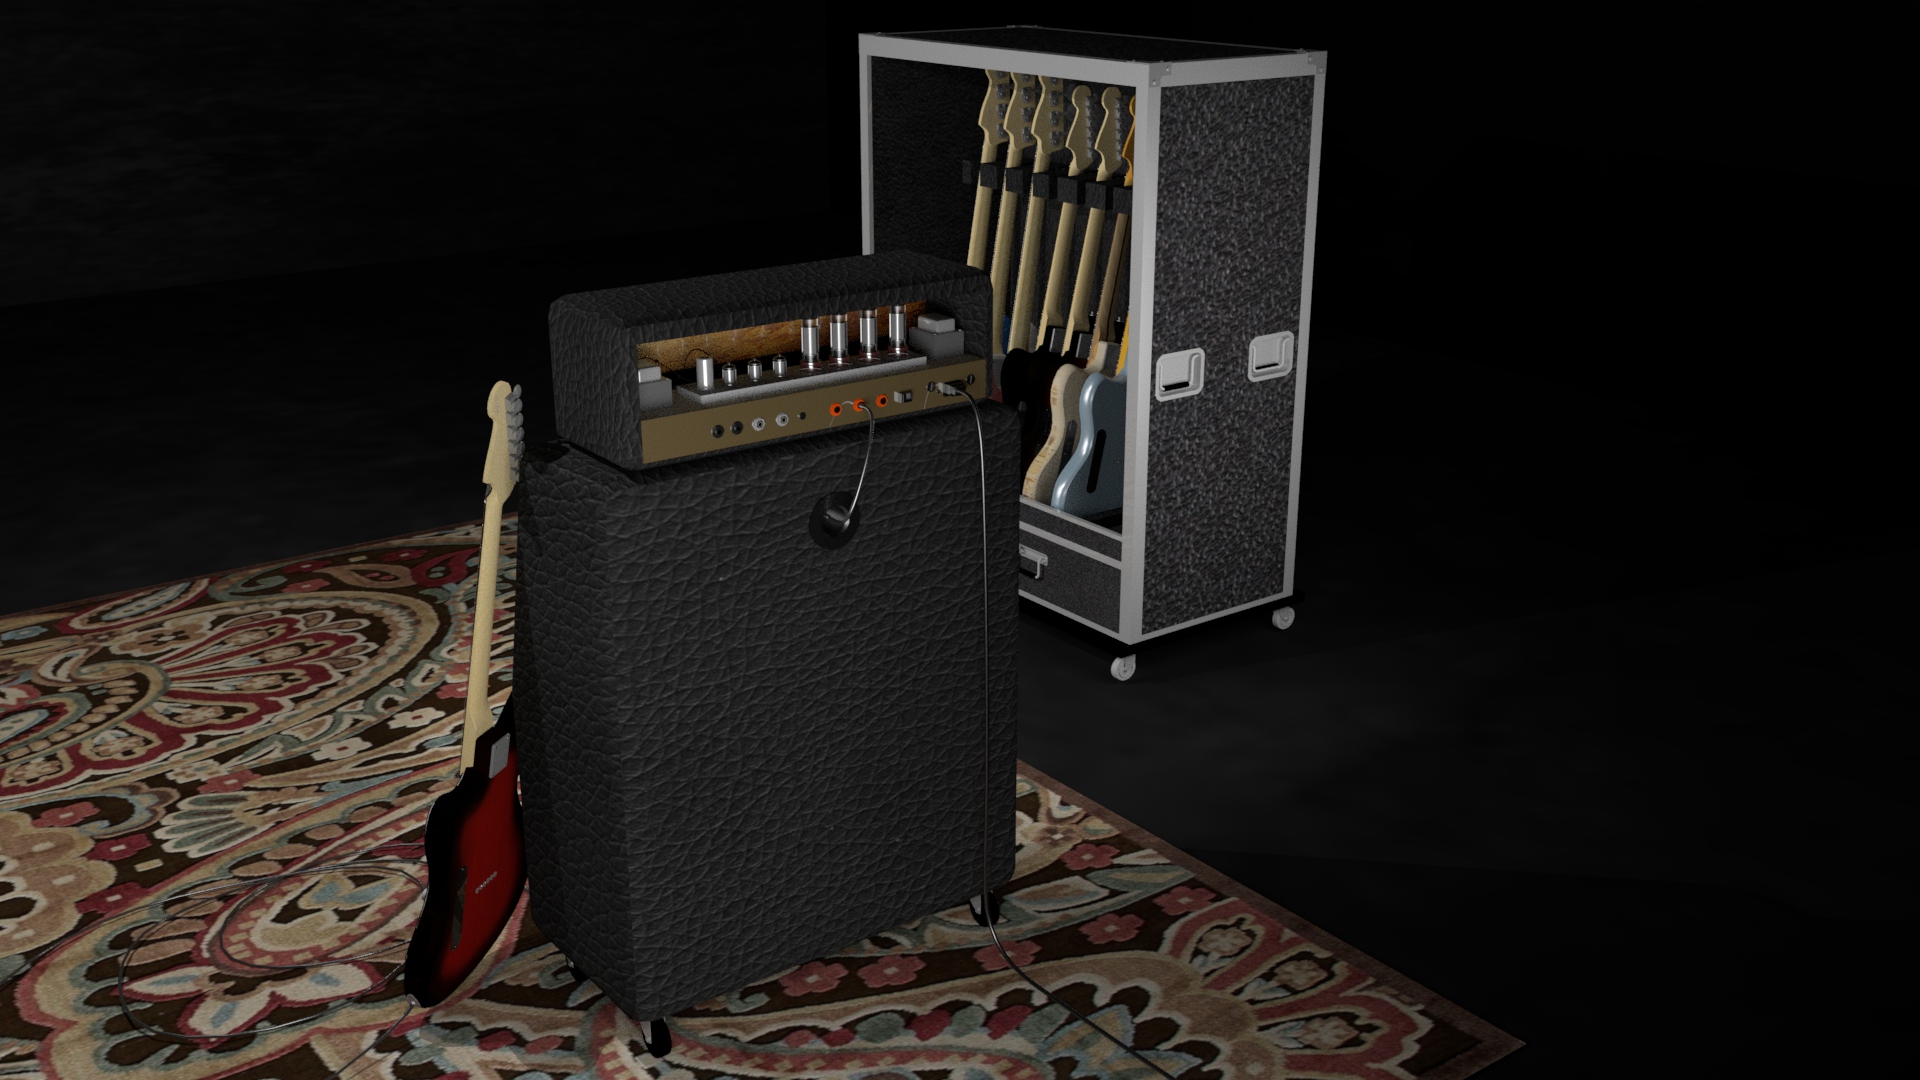
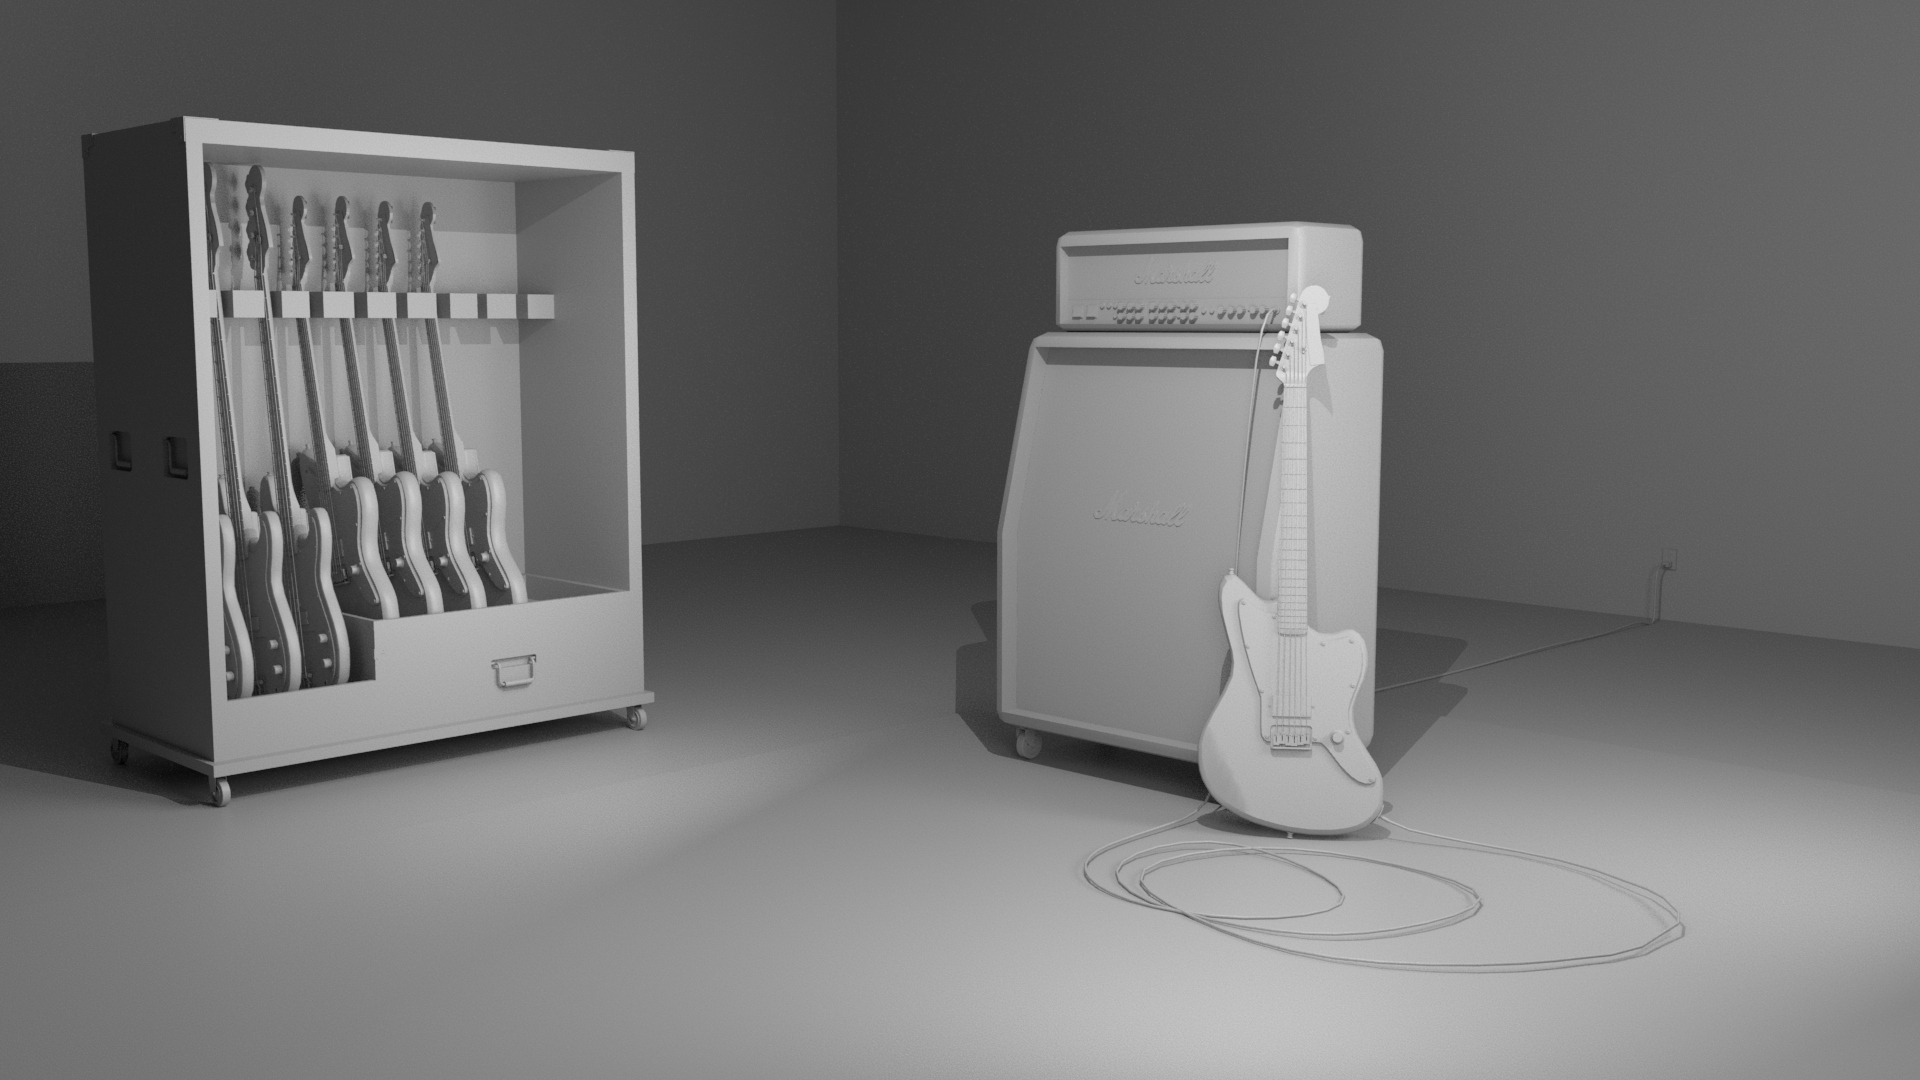
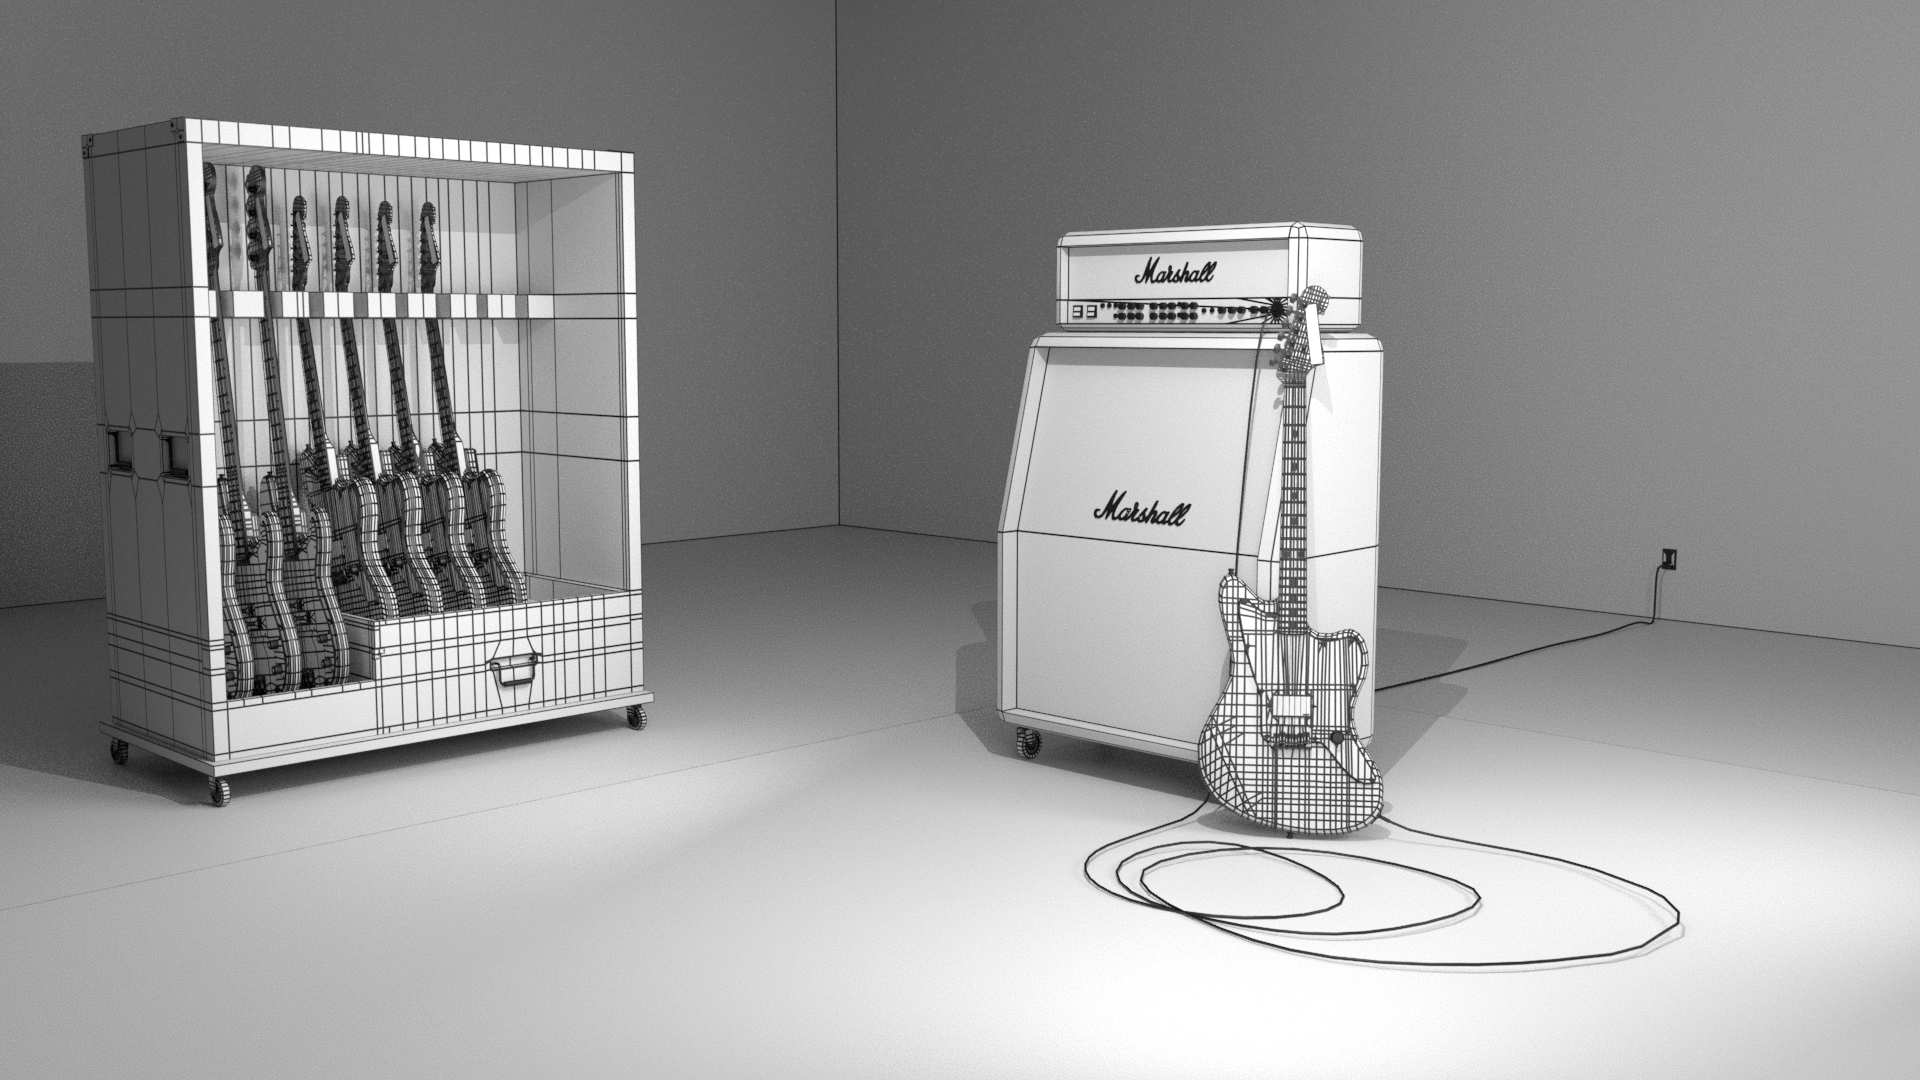
The last two images were renders for when I was blocking out my geometry in my renders. This was how things would look without any textures prior to the finished product. In the very last image, you can see the wireframe and topology of each object in terms of how the objects were subdivided. All these subdivisions were necessary in order for these objects to look how they are.
Anyway it is truly amazing that I have successfully learned a lot of useful functions in Autodesk Maya, and that the knowledge I have in this program has allowed me to bring whatever I envision, that does not exist, to life.